← All workshopsThe workshop
Develop your film. Make your print.
There is a particular satisfaction in seeing a roll of negatives emerge from the tank, then making a print from an image you have chosen. This weekend takes you through both parts of that experience.
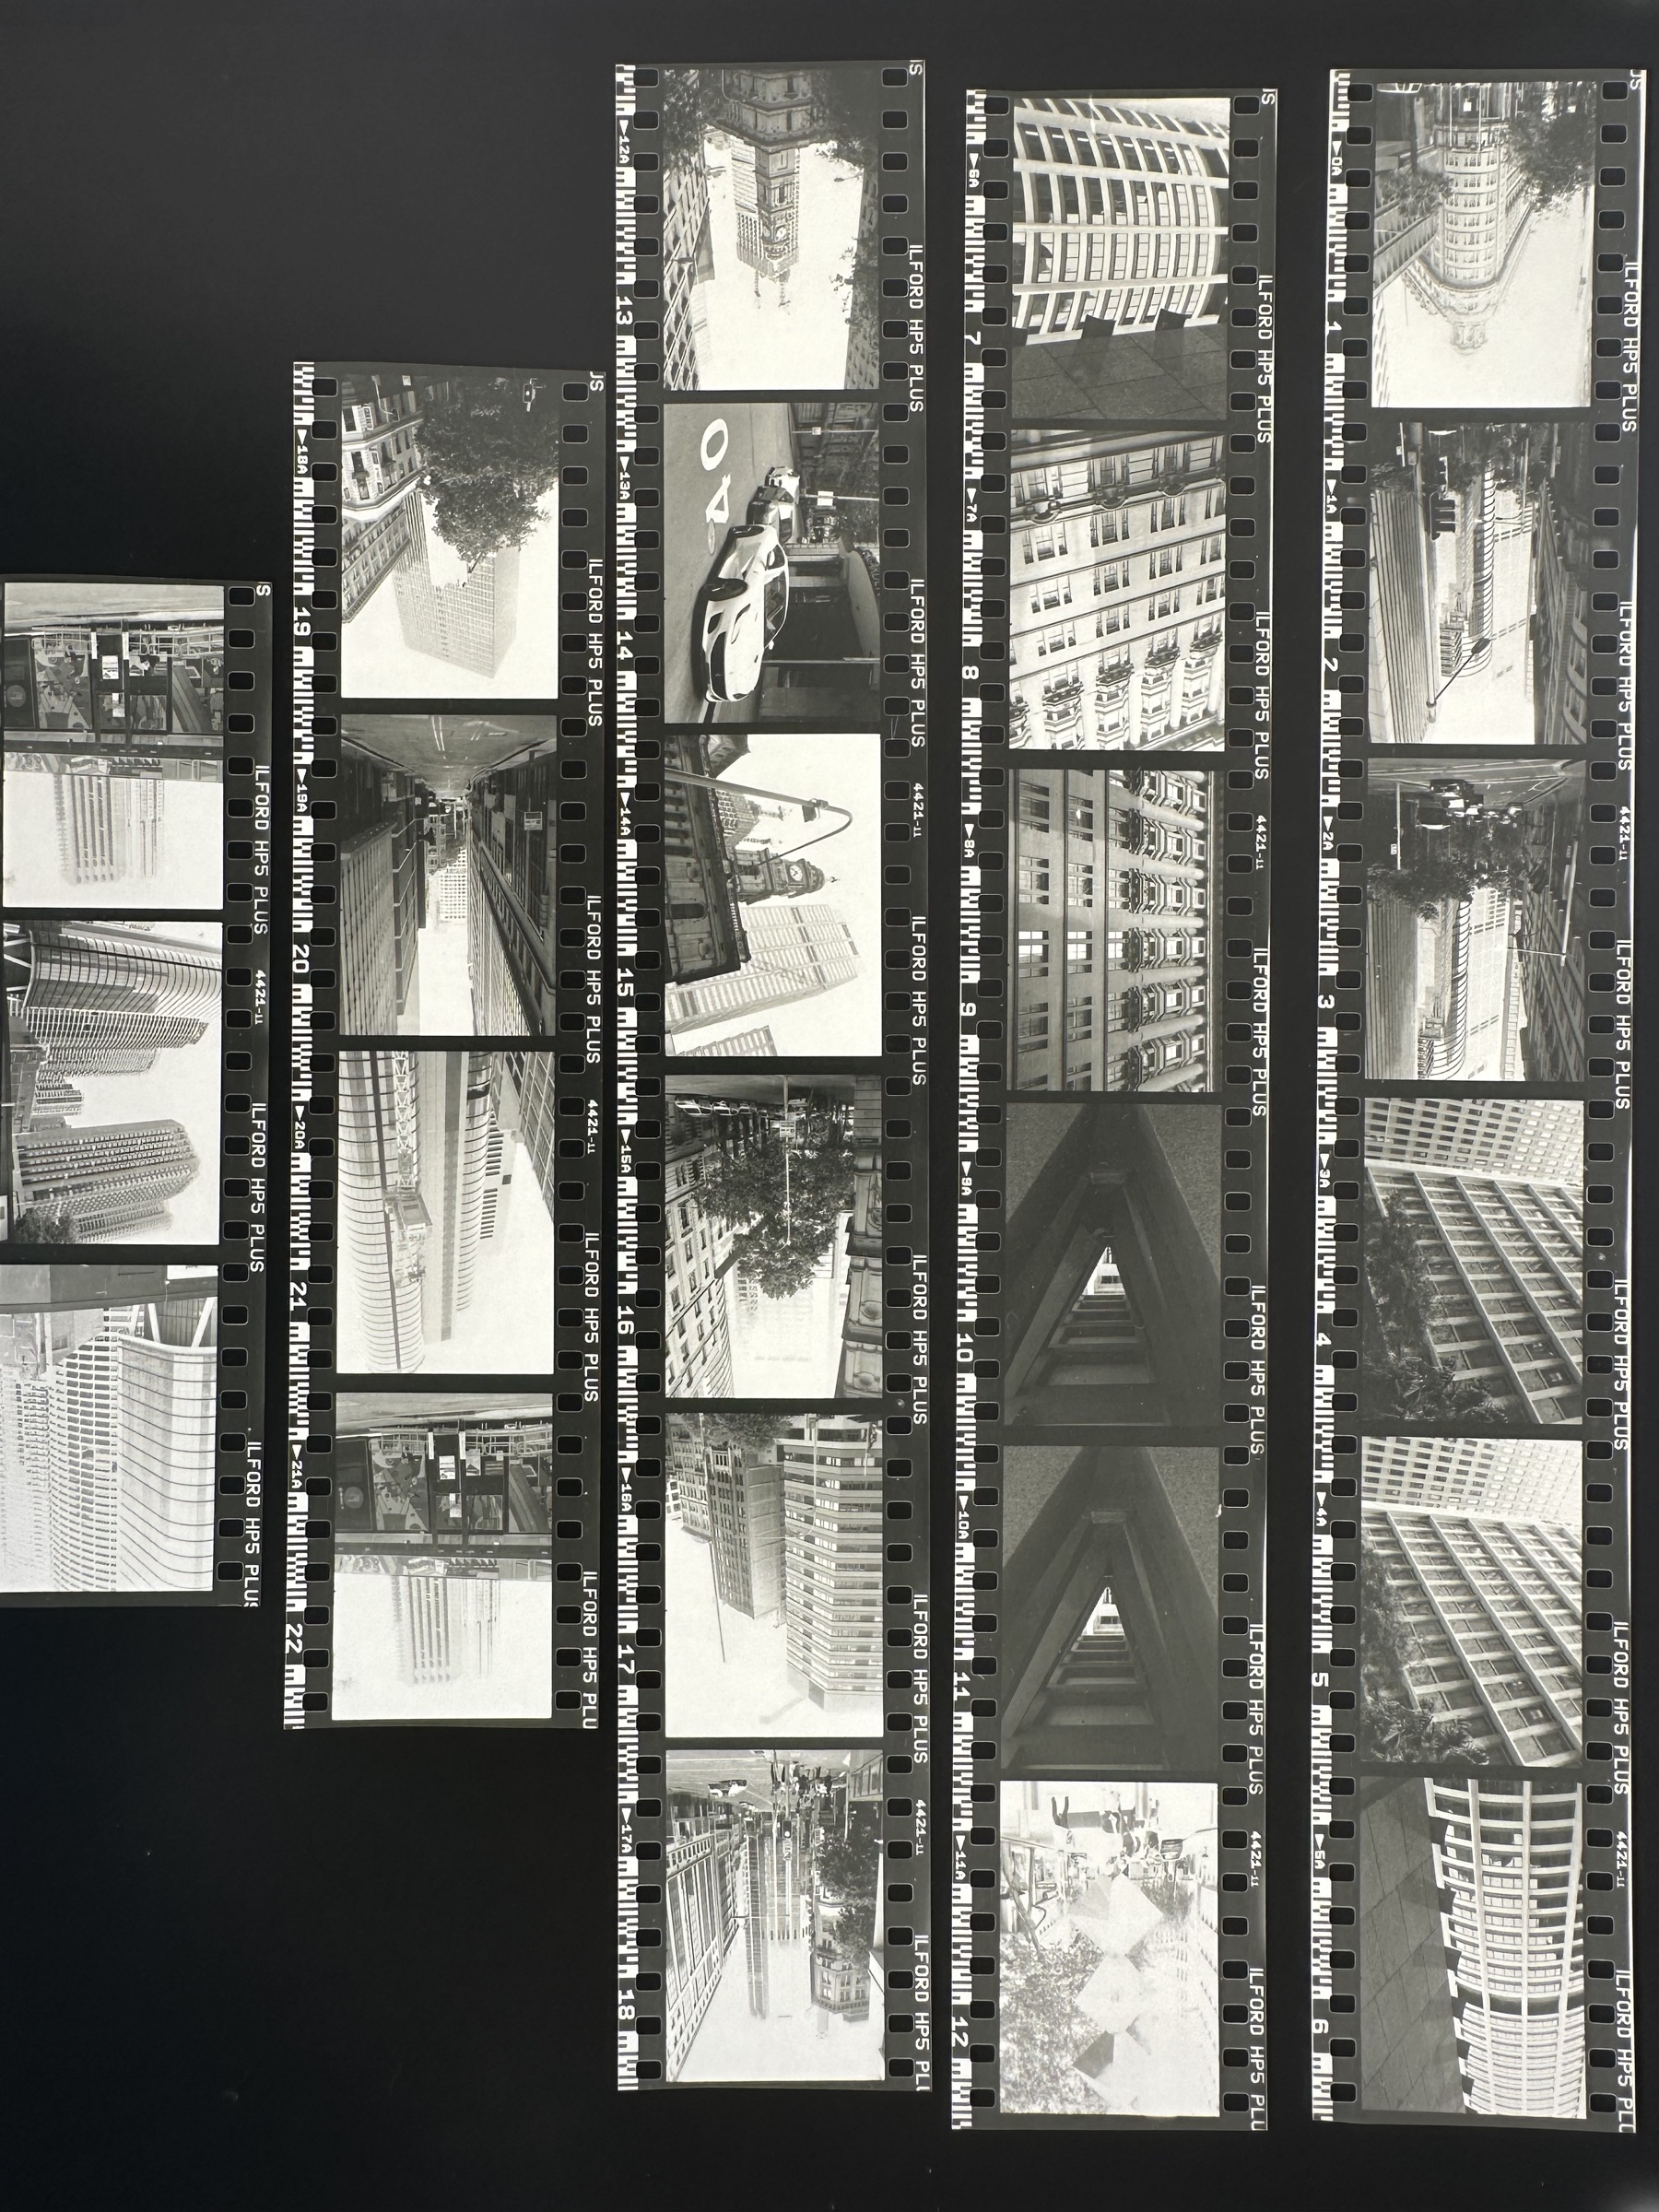
On day one, we develop black and white film and learn how to handle and assess the negatives. On day two, we move to the enlarger, make contact sheets and test strips, and work on prints. I will explain the chemistry and exposure decisions as we go, so the darkroom becomes a place where you can work with understanding.
Ask about the next workshop- Duration
- 2 days
- Format
- Weekend: develop on day one, print on day two
- Teaching approach
- Practical work supported by science
- With
- Achim Boers
What you’ll make
Developed black and white negatives, a contact sheet and darkroom prints from your selected images.
What you’ll learn
- Understand film formats and the relationship between a negative and a positive print.
- Load film into a developing tank using a changing bag.
- Prepare working solutions and follow the developing, stopping, fixing and washing stages.
- Understand how development time, temperature and agitation relate to the process.
- Make a contact sheet, assess negatives and use test strips to judge print exposure.
- Use the enlarger and paper-processing sequence to make black and white prints.
Two-day programme
Day 1
Develop your film
Work through film development and learn to recognise what your negatives can tell you.
- Film formats, exposure and the negative-to-positive process.
- Loading film into a reel and tank with a changing bag.
- Preparing chemistry and controlling time, temperature and agitation.
- Developing, stopping, fixing, washing and drying the film.
- Handling and storing negatives, with an introduction to scanning.
Day 2
Make your prints
Take your negatives into the darkroom and learn how to work towards a finished print.
- Choosing paper and preparing the printing chemistry.
- Making contact sheets and selecting images to print.
- Using the enlarger, aperture and timer.
- Making test strips and comparing exposure choices.
- Developing, stopping, fixing and washing the prints.
The science
Why the process works
We connect the stages of film and paper processing to the behaviour of light-sensitive silver salts. You will learn what the developer, stop bath and fixer each do, and why careful washing matters.
Time, temperature and agitation are part of the film-development discussion. At the enlarger, test strips make exposure decisions visible. The aim is to give you a practical way to evaluate results and repeat the process with confidence.
The history
The darkroom tradition
Gelatin silver printing developed during the late nineteenth century and became the leading photographic printing process of the twentieth. It remains a central method of making black and white photographs on paper.
The negative, contact sheet and enlarger are tools for looking as well as printing. This course continues that darkroom practice: you will examine a roll of images, choose a frame and work towards a print through a sequence of small decisions.
Join a workshop
Contact me for upcoming dates, locations and availability.